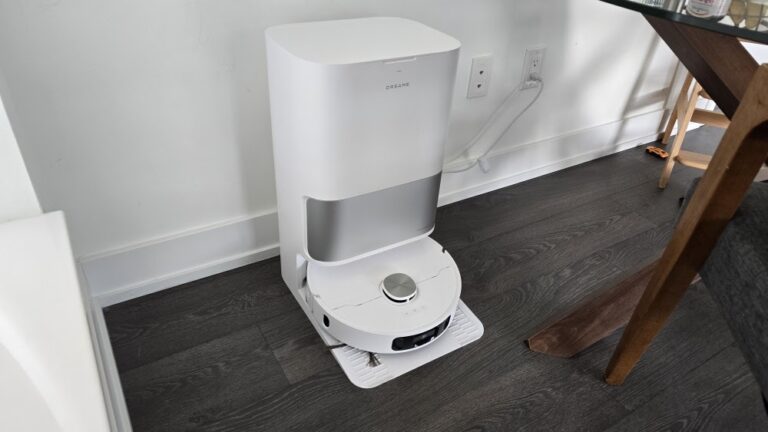
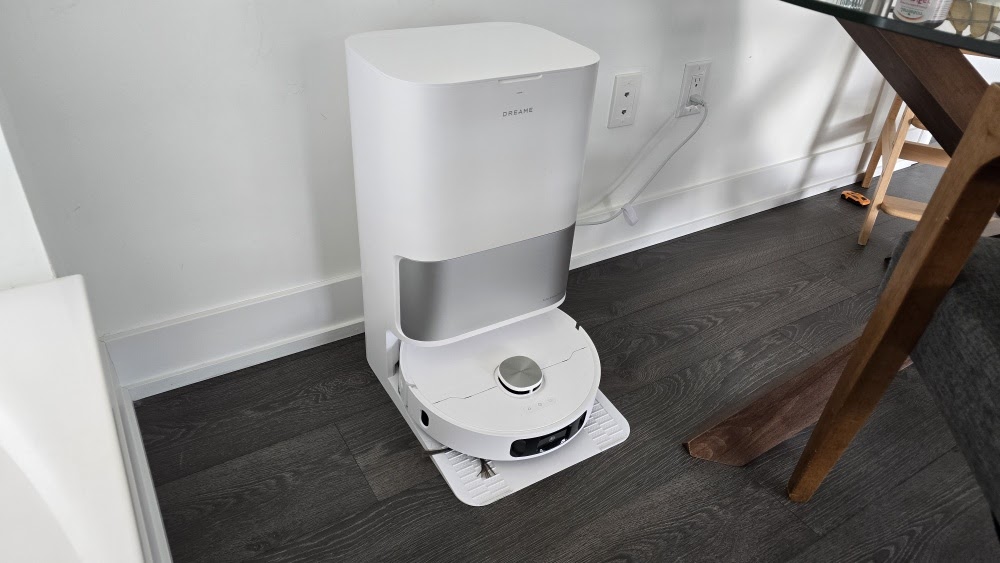
Robot vacuum in a condo: how to set it up so it runs on its own
✅ Based on my own experience : I use this robot at home, in my condo.
Disclosure: some links in this article are Amazon affiliate links. If you buy through these links, SmartScout.ca may earn a commission at no extra cost to you. Learn more.
A robot vacuum is only truly hands-off once it is properly set up. At first, you need to invest a little time. After that, it does the work on its own, and that is where you save a huge amount of time.
Here is how I set up my Dreame L10s Ultra Gen 2 in my condo, and the mistake to avoid. To find out whether this robot is worth it, read my full Dreame L10s Ultra Gen 2 review first.
1. Let the robot map your home
The first step is mapping: the robot goes through your home and draws a floor plan in the app. Everything else depends on this map. Take the time to get it right, because it is what makes the rest of the settings easy.
2. Split the map into rooms
Next, I split the map into rooms in the app. In my place, that gives seven zones: the hallway, the kitchen, the living room, the master bedroom, the secondary bedroom and two bathrooms. Once the rooms are separated, I can tell the robot to clean only what I want.
3. Choose what to clean, and in what order
The app lets you start a clean by room, for the whole home or for a specific zone. You can also choose the order of the rooms and the number of passes. At home, I sometimes clean room by room, and sometimes by type of room.
4. Vacuum, mop, or both
I don’t always do the same thing. Depending on how clean I want things, I vacuum only, vacuum and mop at the same time, or vacuum first and then mop.
5. Return to the dock after every room
I set the robot to return to its dock after each room so it can clean itself. This setting means I don’t have to deal with it during the cleaning.
The mistake to avoid: cleaning solution in the water tank
One day, out of laziness, I poured the cleaning solution straight into the water. The result: foam, and the dock sensors thought there was far too much water. The robot showed an error. I cleaned everything up, and since then I only use the dedicated container for the solution. No problem since.
Maintenance: 2 to 3 minutes
I do all of the maintenance myself, and it takes me two to three minutes.
My verdict
Once the mapping, rooms and cycles are set up, the Dreame handles it. That is what saved me a huge amount of time. The initial setup takes a bit of patience, but it is worth the effort.
Key takeaways
- Take the time to map your home properly at the start.
- Split the map into rooms so you can clean what you want, when you want.
- Set the robot to return to its dock after each room.
- Never put cleaning solution in the water tank: use the dedicated container.
Exact menu names may vary depending on the app version. For specs and the manual, see Dreame’s official page.